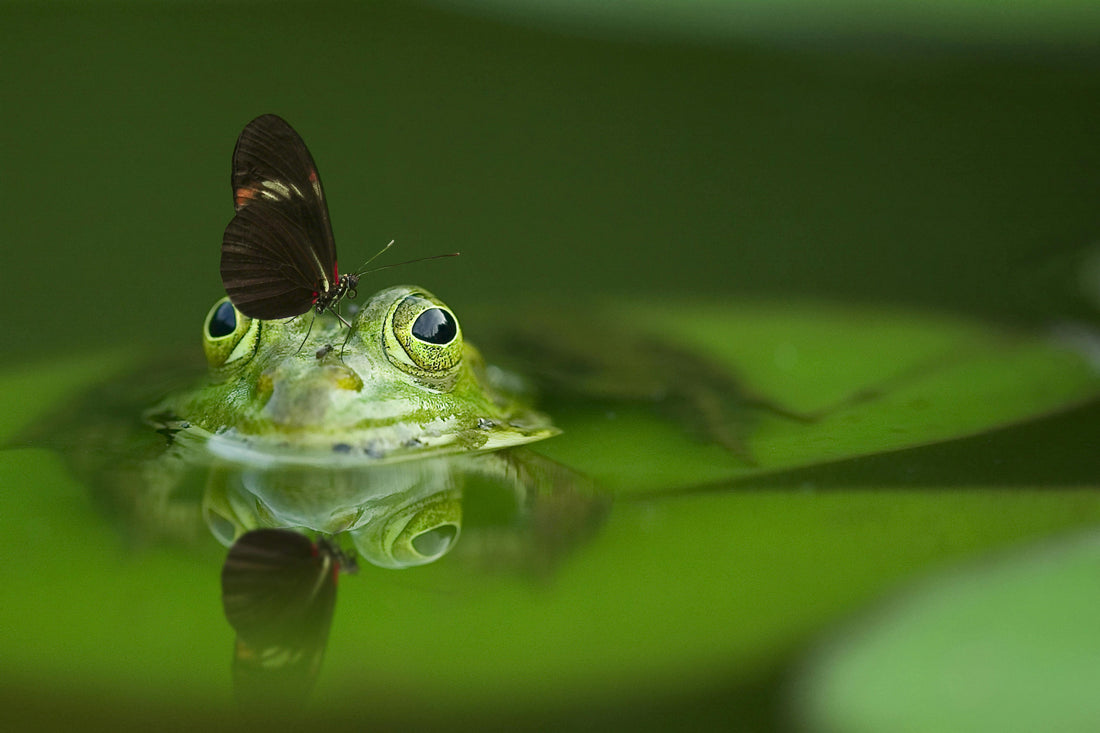
10 Essential Macro Lighting Tips for Every Photographer
Ever tried capturing the intricate patterns on a butterfly’s wing or the dewdrops on a spider’s web, only to have your photos come out too dark, too bright, or just flat? Macro photography is a magical world, but getting the lighting right can make all the difference between a jaw-dropping shot and a wasted one. If you’re ready to take your macro photography to the next level, then it’s time to master the power of light.
Let’s dive into 10 essential macro lighting tips every photographer should know!
1. Use Natural Light to Your Advantage 🌞
Sometimes, the best light source is already available—good old natural sunlight. Positioning your subject in diffused natural light, such as early morning or late afternoon, can create soft, even lighting perfect for macro shots.
But why does this matter so much? Well, in macro photography, shadows are magnified along with your subject. Harsh direct sunlight can cast unflattering shadows, while soft, natural light helps highlight the fine details.
Pro Tip: Overcast days are a macro photographer’s best friend! The clouds act as a giant diffuser, offering beautifully even lighting.
2. Harness the Power of Diffused Light
Imagine this: You’re photographing a delicate flower, and your flash blasts the petals with harsh light, washing out the vibrant colours. That’s where diffusers come in.
A diffuser softens the light and spreads it more evenly across your subject, preventing harsh shadows. You can make your own DIY diffuser using a white sheet of paper or a piece of fabric or invest in a professional one.
A diffuser is especially useful when you’re shooting close-ups of highly reflective subjects like insects or jewelry in macro photography.

The Battle of Lighting a Tiny Beetle
I remember a time when I was out in the field, trying to capture the fine details of a ladybird crawling along a leaf. No matter what I did, I kept getting a hard, blown-out glare from the sun. That’s when I improvised—I grabbed a semi-transparent plastic bag from my gear, cut it open, and held it over the scene as a makeshift diffuser. The result? Beautifully soft light that made the ladybird’s tiny feet stand out with perfect clarity. From that moment, I never left home without something to diffuse the light. You just never know when you’ll need it!

3. Experiment with Ring Lights for Even Illumination
One of the best tools in a macro photographer’s kit is a ring light. These lights encircle your lens, providing even, shadow-free illumination that’s ideal for close-up work.
Because they offer continuous, consistent lighting, ring lights allow you to focus on composition and fine-tuning your exposure without worrying about constantly adjusting your light source.
When to Use a Ring Light: They’re perfect for photographing smaller subjects like insects, flowers, or even textures where uniform lighting is key to highlighting details.
4. Control Your Flash Power
Flash can be your best friend or your worst enemy when it comes to macro photography. It’s all about controlling the intensity. Too much flash can create harsh, unnatural lighting, while too little can leave your photos flat and lacking depth.
Most DSLR cameras allow you to manually adjust flash power. Start at a low setting and gradually increase it until you achieve the perfect balance. Remember, macro photography is all about detail, so a well-balanced flash is critical to not blowing out those intricate patterns.

FAQ: How Can I Avoid Overexposed Macro Photos?
Q: I often find that my macro shots are overexposed, especially when using flash. How can I avoid this?
A: Great question! First, try reducing your flash power or using an external flash diffuser to soften the light. You can also adjust your camera’s exposure compensation setting to underexpose the image slightly, which can help preserve the details without blowing out the highlights. Another tip is to use manual mode so you have full control over your exposure.
5. Position Reflectors for Enhanced Fill Light
Reflectors aren’t just for portrait photographers—they’re incredibly useful in macro photography as well! A small reflector can be positioned near your subject to bounce light back and fill in unwanted shadows.
Reflector Hack: If you don’t have a professional reflector, you can use something as simple as a piece of white card or aluminium foil. It’s a great, budget-friendly way to brighten up those tricky shadow areas and add extra detail to your shots.

6. Get Creative with LED Lighting
LED lights are versatile, portable, and provide continuous lighting, allowing you to experiment with different angles and intensities. They’re a great option for macro photography because you can see how the light is affecting your subject in real-time.
Some LED lights come with adjustable colour temperatures, giving you the flexibility to match the mood or tone of your image to the lighting. Whether you want a cooler or warmer light, LEDs can give you that flexibility.
7. Use Flash Gels for Creative Effects
If you’re feeling creative, flash gels can take your macro lighting to a whole new level. These colored filters fit over your flash and allow you to alter the mood of your shot.
For example, using a warm orange gel can mimic the golden hour, while a cool blue gel can create a dramatic, night-time effect. It’s a subtle but effective way to bring out specific details or evoke emotions in your macro photography.
8. Try Side Lighting for Added Depth
Lighting your subject from the side can add beautiful texture and depth to your macro shots. Side lighting highlights the small details—think of the way light hits the ridges of a seashell or the delicate folds in a flower petal.
It’s especially effective for macro photography because it helps bring out texture and form that might otherwise be lost with more flat lighting setups. Experiment with different angles to see how the light interacts with your subject.

9. Master the Art of Backlighting
Backlighting is a game-changer for macro photography, especially when photographing translucent subjects like leaves or insect wings. By placing the light source behind your subject, you can create a glowing, ethereal effect that adds a new dimension to your images.
Pro Tip: Combine backlighting with a reflector to control the shadows at the front of your subject, giving you a beautifully balanced shot.

10. Don’t Forget About the Background
Lighting your subject is one thing, but don’t forget about how your background is lit. In macro photography, the background plays a significant role in the overall composition.
A poorly lit or distracting background can take away from the subject. Use a small light or reflector to control the background’s brightness, or even throw it into complete shadow to make your subject pop.

What’s your biggest challenge when it comes to macro photography lighting? Drop your thoughts in the comments below—I’d love to hear your experiences and help you out!
Ready to Level Up Your Macro Photography?
Lighting can make or break your macro shots, but with these tips, you’re well on your way to capturing breathtaking images that showcase every tiny detail. Whether you’re using natural light, experimenting with flash, or getting creative with LED lighting, the right techniques can transform your macro photography.
At UpYourPhotography, we’re all about helping you improve your skills and capture the magic of the world up close. Looking for more tips and resources? Check out our free cheat cards, guides, and action cards to take your photography to the next level!
